Solar Wire Size: How to Choose the Right Gauge (Voltage Drop + Safety)
Solar wire size explained with a practical decision flow: identify the circuit, estimate max amps, measure run length, and manage voltage drop safely.
Table of contents
Key takeaways The real goal Two rules that prevent most mistakes A simple 4-step decision flow Why higher voltage simplifies wiring A quick “DC-rated” checklist Common wire-sizing mistakes FAQ
Key takeaways
- Start by identifying the circuit: PV wiring, controller-to-battery, or battery-to-inverter.
- Wire size is driven by max amps and run length, not “average watts.”
- Higher system voltage usually reduces current, which often means smaller cable and less voltage drop.
Wiring & protection cost (what’s included)
The real goal (safety + performance)
The reader is the hero here: you want a solar system that works reliably without hot wires, nuisance shutdowns, or mystery power loss. This guide is the “plan” that gets you there.
Good wire sizing = low heat + manageable voltage drop + compatible connectors and protection.
Two rules that prevent most mistakes
Rule 1: current (amps) drives heat risk
For a given load, lower voltage means higher current. High current pushes you toward thicker cable and higher-rated lugs, bus bars, fuses, and breakers.
12V vs 24V vs 48V solar systems How to choose solar system voltage
Rule 2: distance drives voltage drop
The longer the run (especially on high-current battery cables), the more voltage you lose in the wire. Too much drop can look like “the system is underperforming” when the real issue is wiring.
A simple 4-step decision flow (what to measure first)
Step 1: identify the circuit
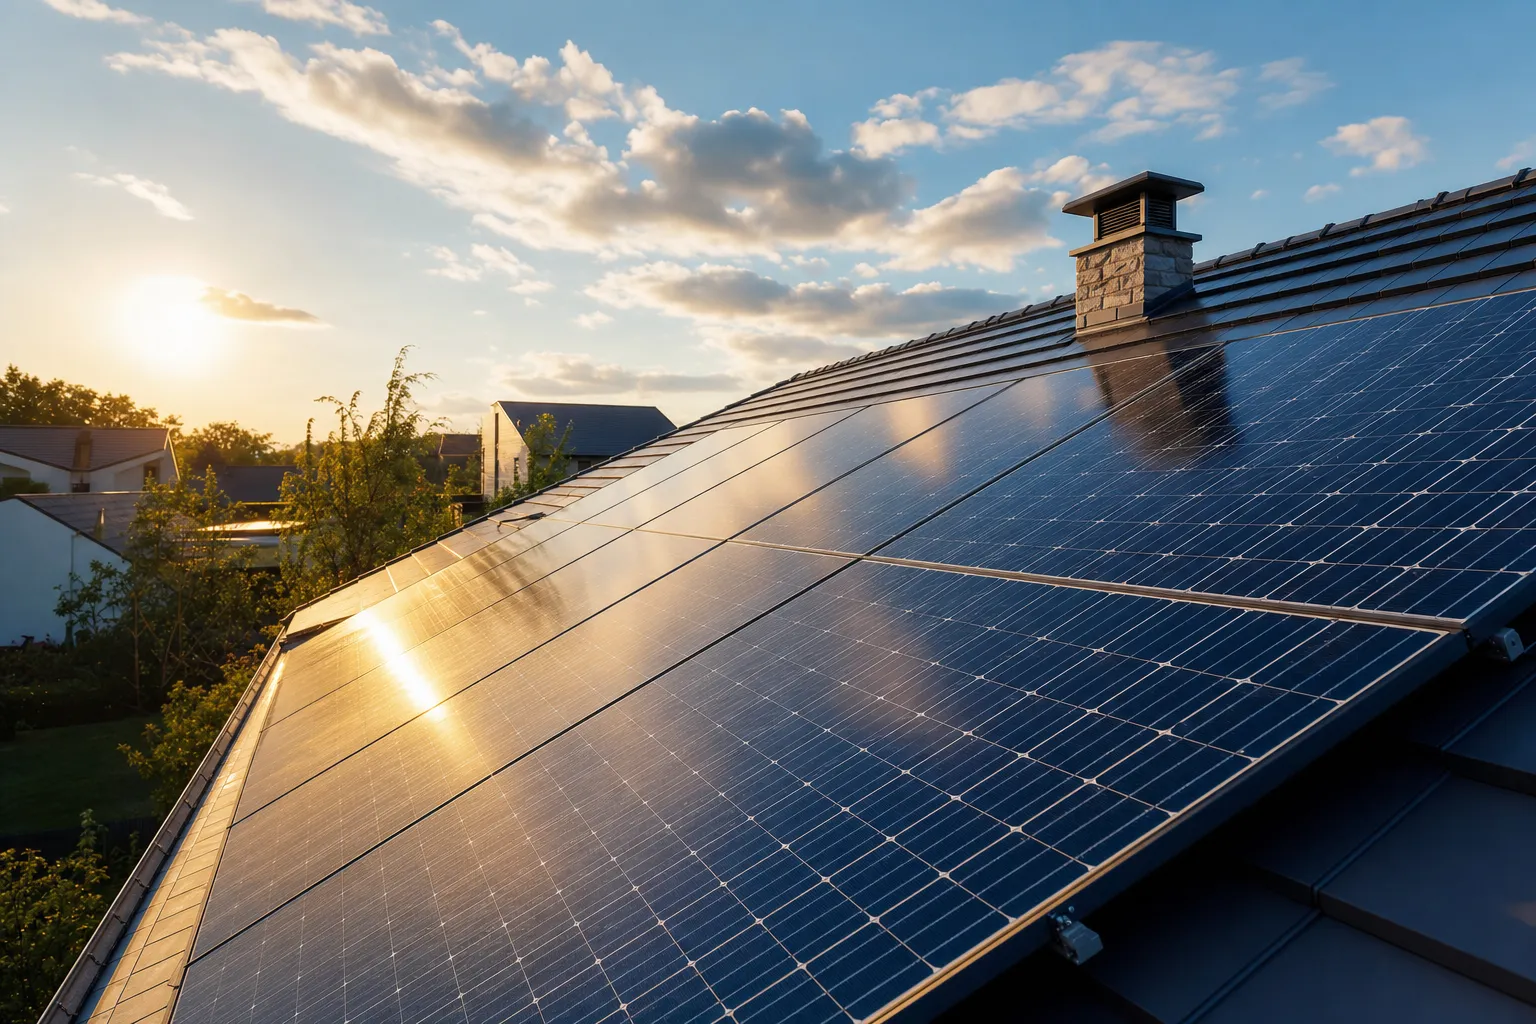
- PV wiring: panels to charge controller (often higher voltage, lower current)
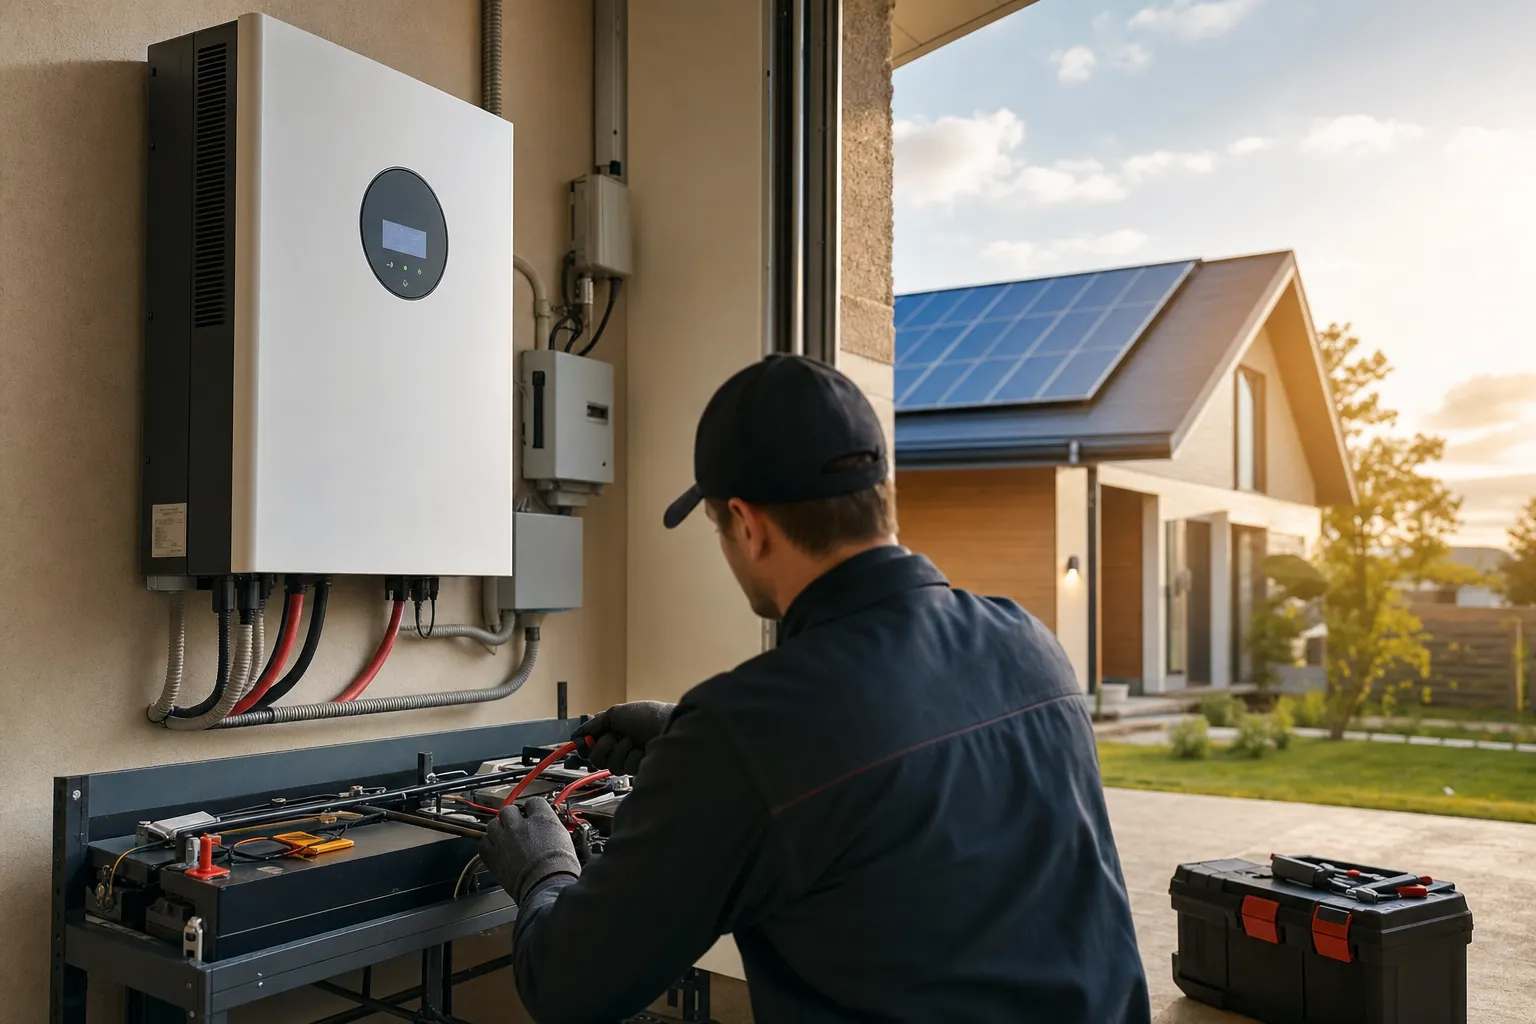
- Controller-to-battery: charging current to the battery bank
- Battery-to-inverter: usually the highest current wiring in the system
Solar components explained (what connects to what)
Step 2: estimate max amps (use labels, not guesses)
Use the equipment specs as your “source of truth.” For example, charge controllers list max output current, and inverters list continuous power and surge behavior.
How to size an inverter (watts, surge, draw)
Step 3: measure one-way run length
Don’t assume a tidy layout. Measure the real path the cable will take (including routing), and remember that long runs are most painful on high-current circuits.
Step 4: set a conservative voltage-drop target
If you want a simple rule for planning (not a code substitute), aim to keep voltage drop “small enough that it doesn’t change equipment behavior.” The battery-to-inverter run is often where people tighten this target because voltage sag can trigger low-voltage shutdowns.
When in doubt, oversize cable rather than forcing a long, high-current run at a low voltage.
12V vs 24V vs 48V: why higher voltage usually simplifies wiring
If you keep power roughly the same, higher voltage means lower current. Lower current typically means thinner wire, less voltage drop, and smaller (and sometimes cheaper) protection hardware. That’s why many systems “graduate” to 24V or 48V as power needs grow.
Choose a system voltage (practical guide) System sizing overview (start here)
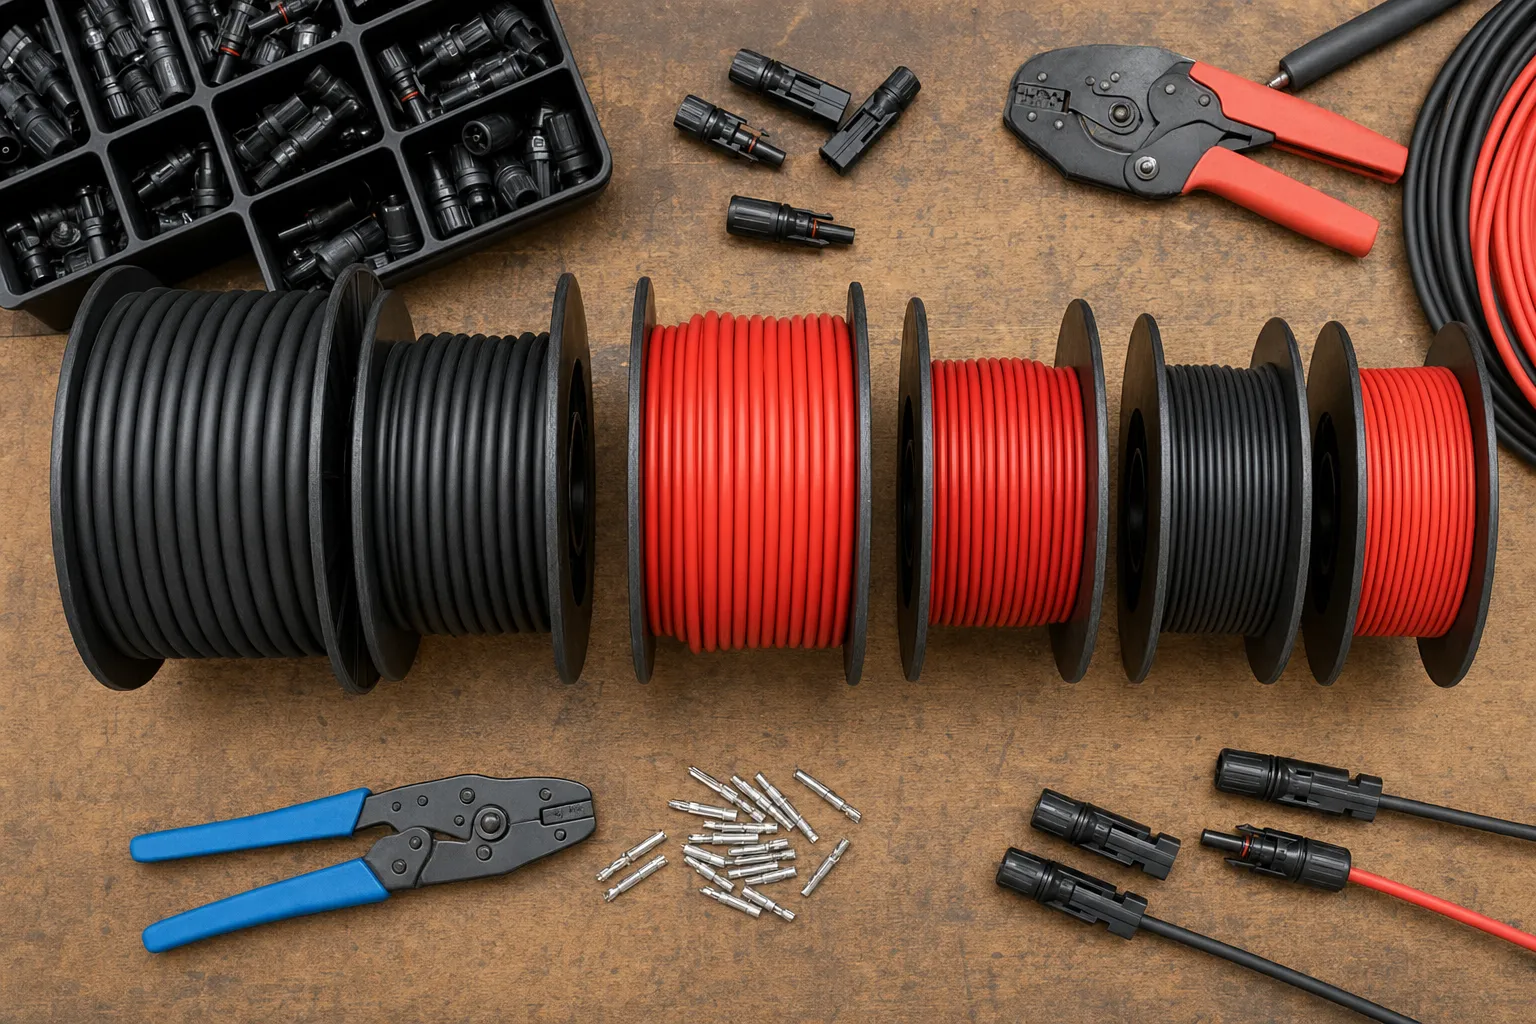
What “DC-rated” means (a quick checklist)
- Cable type: use appropriate PV wire for arrays and appropriate battery cable for high-current battery circuits.
- Connectors: match the cable type and size; avoid “almost fits” lugs.
- Protection: use fuses/breakers/disconnects explicitly rated for your DC voltage and current.
- Heat: cable that runs warm under normal load is a warning sign, not “normal.”
Solar fuses vs breakers (where each belongs)
Common wire-sizing mistakes (and how to avoid them)
- Sizing from average watts: wire is stressed by peak current, not a daily average.
- Forgetting inverter surge: surge can matter on the battery-to-inverter side.
- Ignoring distance: long runs create voltage drop that looks like “low solar output.”
- Mixing cable types: PV wire and battery cable solve different problems.
- Using non-DC-rated hardware: DC interrupt ratings matter for safety.
Low solar output troubleshooting (symptoms vs causes)
FAQ
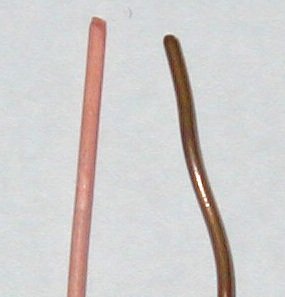
Is PV wire the same as battery cable?
No. PV wire is designed for outdoor array wiring. Battery cable is built for high current and flexible routing on the battery side.
What voltage drop is “acceptable” for solar?
It depends on the circuit and equipment behavior. The safest approach is to keep drop low enough that it doesn’t cause shutdowns or lost production.
Why does 12V require thicker wire than 24V or 48V?
For the same power, lower voltage means higher current. Higher current drives thicker cable and higher-rated protection.
Can I oversize wire?
Often yes, and it’s a common way to reduce voltage drop and improve reliability. The practical limits are cost, routing, and connector compatibility.
Do I size for continuous watts or surge?
Use the maximum current that the circuit can realistically see. For inverters, surge can be relevant depending on your loads and design.
Next logical reads
Solar wiring and protection cost Solar fuses vs breakers Series vs parallel solar panels How to size an inverter How to choose system voltage